Away3D - Transparent Planes
I saw that my blog had some search hits for Transparent Planes in Away3D. So if anyone is still looking for it, here's the code to create a transparent plane. Hope this helps! :)
var matBlank:WireColorMaterial = new WireColorMaterial(0xFFFFFF);
matBlank.alpha = 0;
matBlank.wireAlpha = 0;

var plane:Plane = new Plane({material: matBlank, width: 200, height: 200});
Away3D - Outlining Hotspot on 3D Plane Image
[swfobj src="http://elwinlee.com/flash/outline/TestImageOutline.swf" width="546" height="400"]
I'm learning Away3D at the moment instead of PaperVision3D for a project at the HITLab. PaperVision is kind of outdated and the latest version was causing trouble for creating interactive panoramas.
In the example above;
- Rotate the view by clicking the background and drag the mouse.
- The bidoof is the hotspot and will change color when pressed.
- Outline moves along the z-axi when tilted to show the 2 separate layers (background & hotspot).
The idea behind this is to create an actual outline of the hotspot on the panorama picture instead having an image (e.g. arrow) overlapping the background image to indicate a hotspot.
To achieve this, I placed 2 planes; background and hotspot, on top of each other. The hotspot image is a cutout of the background image with a transparent background. The images are then mapped onto the planes and placed on top of each other accordingly. Flash ignores the transparency in the hotspot image, so placing the image on a plane wouldn't effect the image.
Next apply a "GlowFilter" to the hotspot image, set the strength to a high value and set Knockout = true, to create an outline. The hotspot object might disappear when moving the camera around. To fix this, move the object slightly in front of the background, e.g. value of "0.5", which won't be visible to the viewer anyway. And set the "pushback" and "pushfront" accordingly (this saved my day!). Compile the file and tada! :D
background = new Plane( {material: BackgroundImage, width: 800, height: 600 } );
background.rotationX = -90;
background.rotationZ = 180;
background.ownCanvas = true;
background.pushback = true;
view.scene.addChild(background);

var objectGlow:GlowFilter = new GlowFilter(0xff1616, 1, 8, 8, 20, 1, false, true);
object = new Plane( { material: ObjectImage, width: 250, height: 250 } );
object.x = -158;
object.y = -65;
object.z = 0.5;
object.rotationX = -90;
object.rotationZ = 180;
object.ownCanvas = true;
object.filters = [objectGlow];
object.useHandCursor = true;
object.pushfront = true;
view.scene.addChild(object);
Project Blender - Day4: Eye for an Eye

Blender weekend has ended! :( Did the Eyeball Tutorial from Blender Cookie and extended the image by placing more eyeballs in different colors. Next to Blendering, I went and bought some lamb at the Countdown (20% DISCOUNT!!!) and made some lunch; Lamb with oil, salt, pepper and fresh rosemary cooked in a 160C oven for 15-20 minutes :333

Ok time for bed! It's 2.32AM and tomorrow is Monday, which means back to the lab. Also I'm going to start learning Papervision 3D soon for the chemical processing project :D
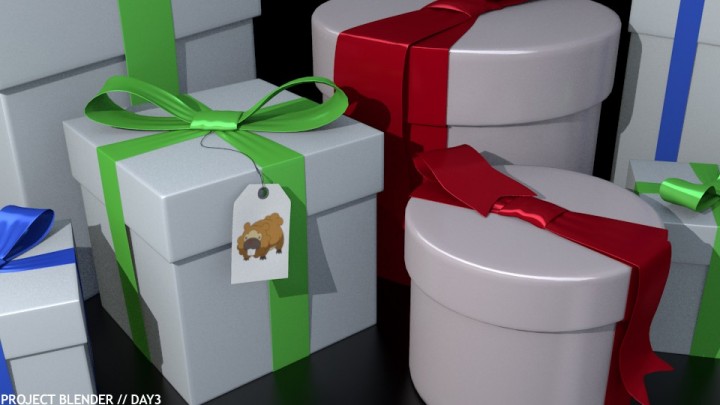
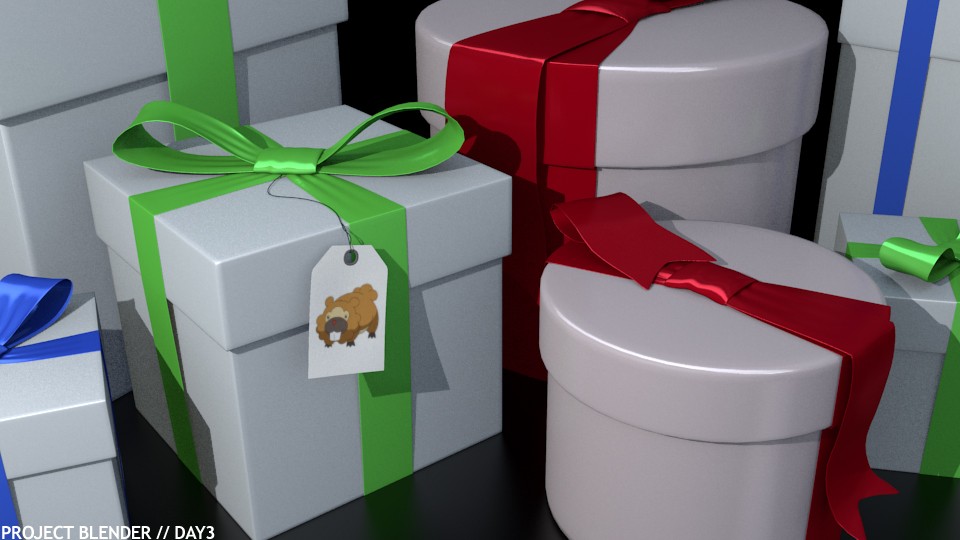
Project Blender - Day3: My Gift to You
It was very rainy today in New Zealand, so I played some more with Blender and followed the Creating a Present Tutorial from Blender Cookie. I'm getting more familiar with the interface and modeling objects, and I added a rounded present box to the picture for fun :D And since it was such a bad day, I'm handing out gifts to all of you!!
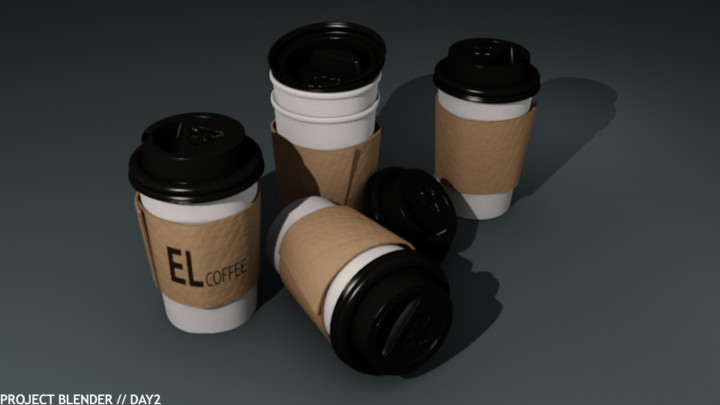
Project Blender - Day2: EL Coffee

Day 2 of Project Blender! This time I did the Coffee Cup Tutorial from Blender Cookie and it took me quite a while before I had it right. Minor mistakes led to huge ones in the end, forcing me to start over again :@ But in the end I learned quite a lot of new features and techniques for object modeling :D
Weekend is coming up (actually it's passed 5pm now so technically it's weekend) which means more Blendering! :D :D
Project Blender - Day1: Color of Death
 For my internship at the HITLab in New Zealand, I need to learn some basic 3D modeling in Blender. The perfect opportunity to actually learn some useful 3D modeling. The only modeling program I know is Rhinoceros after doing an assignment at Industrial Design. But the program is very visually based and is practically useless if you want to implement it together with other programs. So if you're thinking of learning a 3D modeling program, I would recommend NOT to learn Rhinoceros. You're way better off learning Blender, 3DMax or Maya in terms of compatibility.
Anyway, I'm going to start Project Blender. I'll try to learn Blender in a couple of months by working with it practically everyday and see how far I can get. I did the same for Processing for my final project at Industrial Design; 1,5 months of coding, camera tracking and some robots.... It requires a lot of focus and it's very exhausting, but in the end it's all worth it (*FUCK-YEAH-face*)
I just started learning Blender 3D today and I used the Balloon Tutorial from Blender Cookie to create this image. It took me 4 hours to do a 40 minute tutorial, because I never used the interface before and quite a lot of features and functionalities are difficult to find unless you know them. Nevertheless it was fun! I can't wait to do more Blendering :D